I wrote a book !

Software development is an ongoing process of learning and refinement. Each day brings the challenge of seeking better ways to build software – more efficient code, more robust systems. Having benefited from the kindness and wisdom of colleagues and many, many other authors, I now find myself in a position to share my own insights into Defensive Programming, Defensive Design and Quality Assurance. The book “Practical Defensive Design, Defensive Programming and Quality Assurance principles: Full-color edition with C# examples” is my humble attempt to return that kindness, offering the community some of the guidance and support I’ve received along the way.

Defensive Design, Defensive Programming and Quality Assurance are vast, multi-faceted, complex topics with deep historical roots and significant ramifications across multiple aspects of IT.

Defensive Programming is a software development technique designed to improve the robustness and reliability of code. It’s about anticipating potential problems and implementing safeguards to prevent them, in order to improve, and potentially guarantee, User SafetyCybersecuritySystem Integrity, Privacy and Data Confidentiality.

Defensive Design
 is its counterpart at a higher abstraction level, and involves creating infrastructures and architectures able to host and run code created with the Defensive Programming principles. As the two faces of the same medal, they both involve many different aspects of programming and different strategies, depending on the kind of application, and the technologies used to create it.

Quality Assurance is the means by which a consistent and unified work methodology is achieved for all its principles. Defensive Design, Defensive Programming and Quality Assurance are practically inseparable; one cannot be effectively maintained long-term without the other.

If you are interested, you can buy “Practical Defensive Design, Defensive Programming and Quality Assurance principles: Full-color edition with C# examples”, on Amazon

Topics

The topics treated in the book are the following:

Section 1 General principles and landscape
1. Defensive Design and Defensive Programming core principles
2. KPIs (Key Performance Indicators)
3. System health
4. Cybersecurity misconceptions
5. The “Defense in Depth” principle

Section 2 Defensive Design & Defensive Programming
6. Anticipating errors and anomalies
7. Graceful error handling
8. Enhancing robustness and resilience
9. Input validation
10. Automated testing
11. Assertions

Section 3 Cybersecurity
12. Cybersecurity is a first-class citizen
13. Cybersecurity posture
14. Cybersecurity rules of thumb
15. Software Bill Of Materials (SBOM)
16. SemVer 2.0
17. Knowledge bases and data formats
18. IEC 62443
19. Authentication vs Authorization
20. Security models, schemas, domains
21. Notable laws and regulations
22. Cyber Resilience Act (CRA)

Section 4 Quality Assurance
23. Quality Assurance principles
24. VCS and code branch management
25. Structured commits messages
26. SAST & DAST
27. The STRIDE and DREAD-D frameworks
28. Software Development Lifecycle (SDLC)
29. Secure Software Development Lifecycle
30. CI/CD

Section 5 Good practices, Bad practices, and everything in-between
31. Adopting the proper mindset
32. Embrace the power of D.D.D.
33. Architecture and high-level design
34. Low-level modeling and coding best practices
35. Your data is sacred
36. Evolving the system
37. Thinking like a defender
38. All Hands, Safe and Sound

Sources and samples

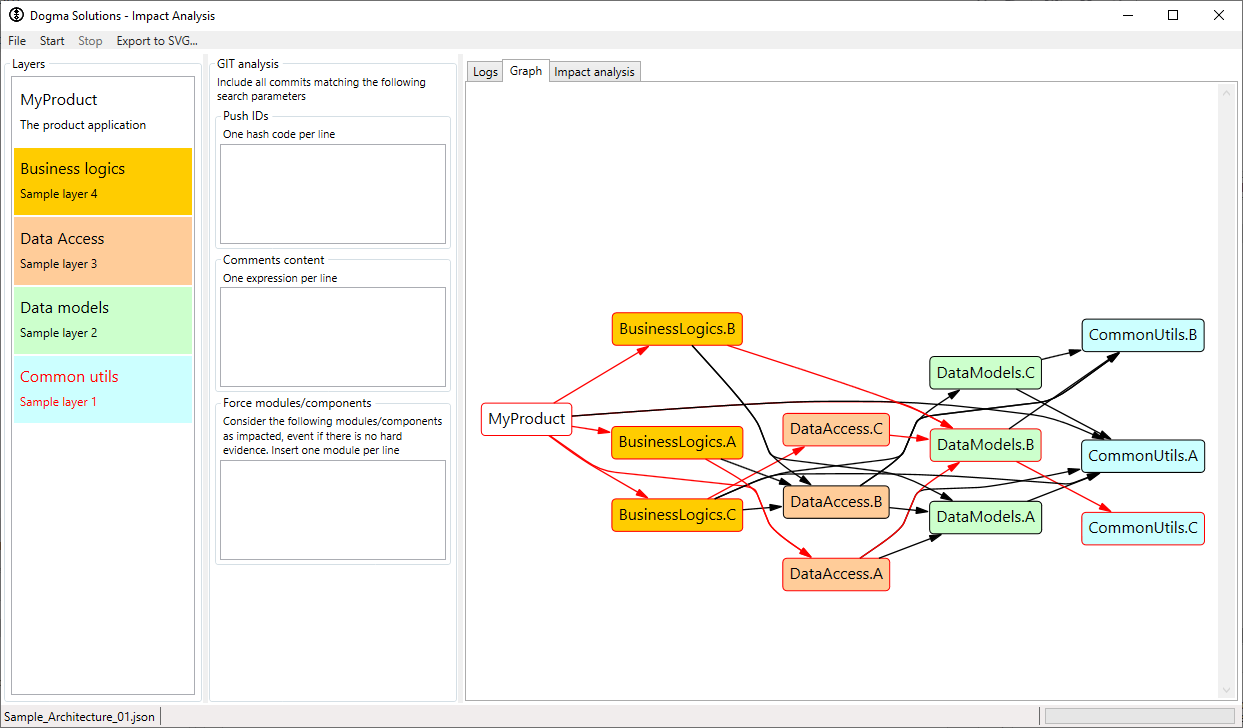
Some of the diagrams and source code samples contained in the book can be downloaded from the official GitHub repository:
https://github.com/NinjaCross/DefensiveDesign-DefensiveProgramming-QualityAssurance

ASP.NET 5 Quality Assurance coding rules and best practices

Dogma Solutions Roslyn Analyzers

Manipolazione tokens e paths tramite String

Di seguito sono presenti alcune funzioni di utilità generale che consentono di manipolare stringhe contenenti paths e tokens formattati tramite grammatica CSV

First Token

Ritorna il primo token della stringa dato uno splitter


if (!String.prototype.firstToken) {
  String.prototype.firstToken = function (splitter) {
    var tokens = this.split(splitter);
    if (tokens && tokens.length > 0)
      return tokens[0];
    else
      return this;
  };
}

Last Token

Ritorna l’ultimo token della stringa dato uno splitter

if (!String.prototype.lastToken) {
String.prototype.lastToken = function (splitter) {
var tokens = this.split(splitter);
if (tokens && tokens.length > 0)
return tokens[tokens.length - 1];
else
return this;
};

All Except Last Token And Splitter

Ritorna tutto il path eccetto l’ultimo token ed il precedente splitter, in poche parole tronca il path a livello dell’lultimo token

if (!String.prototype.allExceptLastTokenAndSplitter) {
String.prototype.allExceptLastTokenAndSplitter = function (splitter) {
var i = this.lastIndexOf(splitter);
if (i >= 0)
return this.substring(0, i);
else
return this;
};

All Except Last Token

Ritorna tutto il path eccetto l’ultimo token, in poche parole tronca il path a livello dell’ultimo token omettendo anche l’ultimo splitter

if (!String.prototype.allExceptLastToken) {
String.prototype.allExceptLastToken = function (splitter) {
var i = this.lastIndexOf(splitter);
if (i >= 0)
return this.substring(0, i) + splitter;
else
return this;
};
}

Replace Last Token

Rimpiazza l’ultimo token del path con il token dato

if (!String.prototype.replaceLastToken) {
String.prototype.replaceLastToken = function (splitter, newToken) {
var i = this.lastIndexOf(splitter);
if (i >= 0)
return this.substring(0, i) + splitter + newToken;
else
return this;
};
}

Generatore di fori multipli per griglie ventole

Un semplice script parametrico OpenSCAD in grado di generare un oggetto solido esportabile ed utilizzabile nel proprio sistema CAD per praticare fori idonei a ventole di raffreddamento

Scopo dello script

A volte capita, durante la progettazione di un dispositivo, di dovere aggiungere allo stesso una o più ventole di raffreddamento. Poiché le ventole devono potere soffiare l’aria da/verso l’ambiente esterno, è necessario praticare dei fori sulla superficie del case che si va a disegnare.

Esistono, di norma, due soluzioni:

  1. Praticare un banale foro circolare di diametro leggermente inferiore a quello del rotore della ventola, predisponendo i necessari fori laterali per potere agganciare una griglia di protezione
  2. Ricavare una serie di molti, piccoli fori o fenditure di passaggio dell’aria direttamente sulla scocca del case, evitando quindi di dovere prevedere i fori per montare la griglia di protezione, e l’uso della griglia stessa.

Naturalmente, sia per ragioni di costi che di assemblaggio, la soluzione (2) è spesso preferibile. Lo script che segue consente appunto di generare il “negativo” di tali fori/fenditure. Esso costruisce una serie di oggetti solidi di dimensioni e caratteristiche parametriche, che possono essere poi usati per “forare” la superficie del case in questione.

Esempio applicativo

Di seguito un esempio pratico su come utilizzare gli oggetti generati dallo script. Si supponga di dovere praticare dei fori in questo case:


Come prima cosa, è necessario generare gli oggetti con i parametri desiderati


In seguito è sufficiente posizionarli sul case in modo da avere una intersezaione completa con le superfici da forare, e tramite il proprio CAD eseguire una operazione booleana di tipo “difference” o “combine”


L’operazione “difference/combine” va a tagliare la superficie della scocca usando il nostro modello di taglio (in rosso), e come risultato si hanno una serie di oggetti solidi che “tappano” i fori che abbiamo eseguito.

A questo punto è sufficiente rimuovere gli oggetti di foratura e gli eventuali “sfridi” rimanenti dall’operazione “difference/combine”, ed ecco i fori di ventilazione pronti per l’uso.


Lo script


// How large is the fan rotor ? (mm)
RotorDiameter=38;
// How large should each hole be ? (mm)
HolesDiameter=4;
// How much space should be left between each hole, proportionally to the hole size ?
HolesRingsSpacingFraction = 0.4; // [0.1:4.0]
// The height of the generated solids (mm)
Height = 10;
// The number of faces of each hole outer perimeter
Resoultion=20;// [3:100]

// VARIABLES INITIALIZATION
echo(“RotorDiameter=”,RotorDiameter);
echo(“HolesDiameter=”,HolesDiameter);
echo(“Height=”,Height);
echo(“Resoultion=”,Resoultion);

HolesBoundingBox = HolesDiameter*(1+HolesRingsSpacingFraction);
echo(“HolesBoundingBox=”,HolesBoundingBox);
NumberOfRings = RotorDiameter / HolesBoundingBox;
echo(“NumberOfRings=”,NumberOfRings);

OuterRadius = RotorDiameter/2;
echo(“OuterRadius=”,OuterRadius);

RingRadiusStep = HolesBoundingBox;
echo(“RingRadiusStep=”,RingRadiusStep);

difference()
{
for (i=[0:1:NumberOfRings/2])
{
difference()
{
for(j=[0:360/((i*HolesBoundingBox*6/HolesBoundingBox)):360])
{
translate([sin(j)*(i*HolesBoundingBox),cos(j)*(i*HolesBoundingBox),0])cylinder(h=Height,d=HolesDiameter, center = false, $fn=Resoultion);
}
}
}
}

I parametri dello script

Come è possibile notare, in testa allo script sono dichiarare le variabili che regolano il funzionamento dello script:

RotorDiameter=38; // il diametro esterno del rotore della ventola
HolesDiameter=5; // il diametro dei fori da praticare
HolesRingsSpacingFraction = 0.4; // lo spazio che separa un foro dall’altro, in proporzione al diametro del foro stesso
Height = 3; // altezza di estrusione della forma
Resoultion=45; // risoluzione del perimetro dei fori. Il numero rappresenta le faccie de cilindri generati

Gli esempi che seguono dimostrano il funzionamento dello script con diversi valori di questi parameri.

Per un esempio “live” di questo script, fare riferimento a
http://www.thingiverse.com/thing:476061
oppure usare direttamente il “customizer” di Thingiverse a questo indirizzo
http://www.thingiverse.com/apps/customizer/run?thing_id=476061

esempio 1

[canvasio3D width=”600″ height=”600″ border=”1″ borderCol=”#F6F6F6″ dropShadow=”0″ backCol=”#FFFFFF” backImg=”…” mouse=”on” rollMode=”off” rollSpeedH=”0″ rollSpeedV=”0″ objPath=”Multi_Holes_38_1_1_3_45” objScale=”1.5″ objColor=”56000″ lightSet=”4″ reflection=”off” refVal=”5″ objShadow=”off” floor=”off” floorHeight=”42″ lightRotate=”off” Help=”off”] [/canvasio3D]

esempio 2

[canvasio3D width=”600″ height=”600″ border=”1″ borderCol=”#F6F6F6″ dropShadow=”0″ backCol=”#FFFFFF” backImg=”…” mouse=”on” rollMode=”off” rollSpeedH=”0″ rollSpeedV=”0″ objPath=”Multi_Holes_38_2_05_3_45” objScale=”1.5″ objColor=”56000″ lightSet=”4″ reflection=”off” refVal=”5″ objShadow=”off” floor=”off” floorHeight=”42″ lightRotate=”off” Help=”off”] [/canvasio3D]

esempio 3

[canvasio3D width=”600″ height=”600″ border=”1″ borderCol=”#F6F6F6″ dropShadow=”0″ backCol=”#FFFFFF” backImg=”…” mouse=”on” rollMode=”off” rollSpeedH=”0″ rollSpeedV=”0″ objPath=”Multi_Holes_38_3_1_10_3” objScale=”1.5″ objColor=”56000″ lightSet=”4″ reflection=”off” refVal=”5″ objShadow=”off” floor=”off” floorHeight=”42″ lightRotate=”off” Help=”off”] [/canvasio3D]

esempio 4

[canvasio3D width=”600″ height=”600″ border=”1″ borderCol=”#F6F6F6″ dropShadow=”0″ backCol=”#FFFFFF” backImg=”…” mouse=”on” rollMode=”off” rollSpeedH=”0″ rollSpeedV=”0″ objPath=”Multi_Holes_38_4_04_3_45” objScale=”1.5″ objColor=”56000″ lightSet=”4″ reflection=”off” refVal=”5″ objShadow=”off” floor=”off” floorHeight=”42″ lightRotate=”off” Help=”off”] [/canvasio3D]

esempio 5

[canvasio3D width=”600″ height=”600″ border=”1″ borderCol=”#F6F6F6″ dropShadow=”0″ backCol=”#FFFFFF” backImg=”…” mouse=”on” rollMode=”off” rollSpeedH=”0″ rollSpeedV=”0″ objPath=”Multi_Holes_38_4_05_10_4” objScale=”1.5″ objColor=”56000″ lightSet=”4″ reflection=”off” refVal=”5″ objShadow=”off” floor=”off” floorHeight=”42″ lightRotate=”off” Help=”off”] [/canvasio3D]

esempio 6

[canvasio3D width=”600″ height=”600″ border=”1″ borderCol=”#F6F6F6″ dropShadow=”0″ backCol=”#FFFFFF” backImg=”…” mouse=”on” rollMode=”off” rollSpeedH=”0″ rollSpeedV=”0″ objPath=”Multi_Holes_38_4_05_10_5” objScale=”1.5″ objColor=”56000″ lightSet=”4″ reflection=”off” refVal=”5″ objShadow=”off” floor=”off” floorHeight=”42″ lightRotate=”off” Help=”off”] [/canvasio3D]

esempio 7

[canvasio3D width=”600″ height=”600″ border=”1″ borderCol=”#F6F6F6″ dropShadow=”0″ backCol=”#FFFFFF” backImg=”…” mouse=”on” rollMode=”off” rollSpeedH=”0″ rollSpeedV=”0″ objPath=”Multi_Holes_38_4_05_10_6” objScale=”1.5″ objColor=”56000″ lightSet=”4″ reflection=”off” refVal=”5″ objShadow=”off” floor=”off” floorHeight=”42″ lightRotate=”off” Help=”off”] [/canvasio3D]